A great way to freshen up the lighting in a home is to convert old incandescent recessed lights to LED. Benefits include a significant savings in energy, very long life, and a clean modern look.
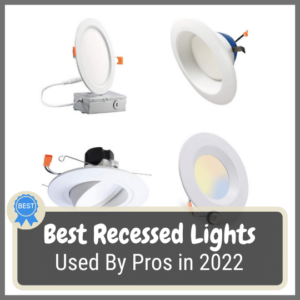
The market is flooded with LED retrofit kits, so you should have no problem finding one with the specifications you’re looking for. There’s a lot of junk available too, so stick with a well know company like Cree or Halo that offers at least a 5-year warranty.
How to tell if your recessed lights can be converted to LED
The first thing you should do, even before you purchase the LED units, is to determine whether or not your existing recessed lights can be converted to LED.
The most common issue is with the mounting springs. Most LED recessed lights use “v” shaped torsion springs to attach the LED to the housing inside the ceiling. The torsion springs slide between two brackets on the inside of the housing. If your existing trims use a different mounting method, your recessed lights may not be compatible with LED retrofit kits.
If this is the case, it’s not the end of the world. It just means that you’ll need to replace the recessed fixture with a universal type before installing the LED unit.
Here’s how to check. Stand on a ladder and remove the light bulb from one of your recessed lights. Then use your fingertips to pull down on the trim and see how it is attached. If it uses the “v” shaped torsion springs, you’re good to go! If not, remove the trim so that you can see inside the housing. Look for two brackets attached on opposite sides. If they are there, then you’re in luck! If not, you’ll probably need to replace the fixture with a universal type.
Convert Recessed Lights to LED in Four Steps
Below you’ll find a great video made by Total Lighting Supply that walks you through the process. I’ve also listed the four main steps below the video. I recommend watching the video first to get the explanation, and then follow the four steps below as you go.
Here’s a summary of the steps:
Step 1. Remove the existing trims.
Step 2. If your recessed lights use a lampholder, adjust it all the way to the top or remove it to make room for the LED unit.
Step 3. Screw in the adapter to the light bulb socket and plug in the LED unit.
Step 4. Squeeze and insert the torsion springs into the brackets inside the housing, and push the LED up in place against the ceiling.
That’s it. Turn them on and enjoy your new LED recessed lights!