Installing recessed lighting is one of the best improvements you can make to a home. This post covers three of the main decisions you’re going to need to consider when planning the project.
1. What size and type of recessed lights?
Type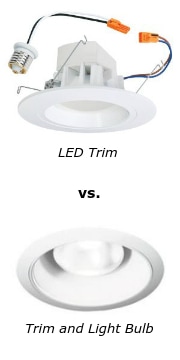
The first thing to decide here is whether you’re going with LED trims or trim-and-light-bulb combos?
The difference is LED trims (aka modules or retrofits) do not use a light bulb and separate trim. Instead, they are a complete luminaire consisting of a driver, LED chips, a lens, and a trim, all incorporated in a sealed unit that fits inside a recessed light fixture. The majority of them use an orange 2-pin connector to fit dedicated LED fixtures. Most also include a screw-base adapter for use when retrofitting standard recessed fixtures.
There are a few reasons you may choose this over the standard trim and light bulb type, the most common being their attractive “sealed” appearance.
Another reason is code. As energy restrictions become stricter, most local ordinances have some sort of criteria that the lighting must meet in terms of efficiency. One way they enforce this is by disallowing screw based fixtures altogether, and only allow high-efficacy plug fixtures for LED or fluorescent lights.
Size
Regardless of type, you’ll mostly find 5-inch and 6-inch lights used for general lighting in residential homes. Smaller 4-inch lights can be used for task and accent lighting, and in some cases general lighting for small rooms.
2. How many lights?
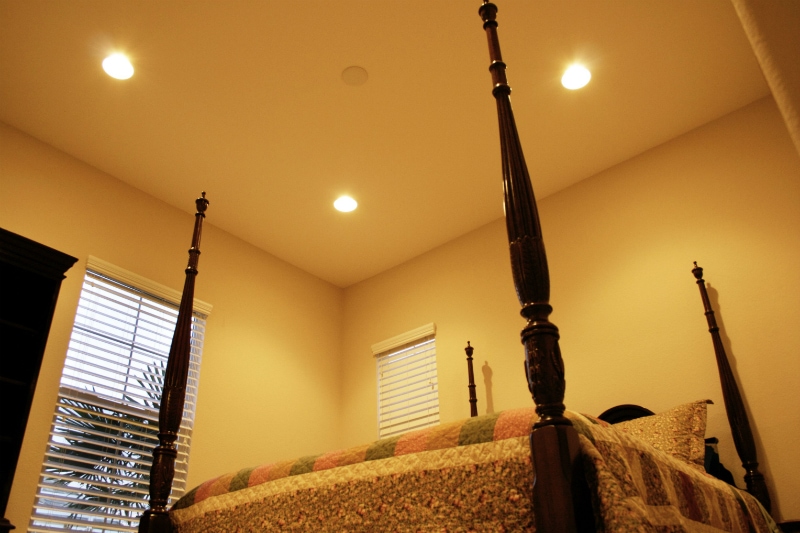
It’s common to assume that the brighter the lights are, the fewer you’ll need. However, it’s not the brightness of lights that makes for great lighting. It’s actually the spacing of the lights that makes all the difference. Too few lights spread across a room will leave dark spots between them. Too many lights and well, it will look like too many lights!
Most often you will need enough lights to space them 40″- 80″ apart depending on factors such as room dimensions, ceiling height, luminaire beam angle, and work plane height. This can be calculated using basic trigonometry, however I’ve created a calculator on this page to make it easy.
3. How would you like to control the lights?
Think about how you will use the lights in the room. Here are some questions to ask yourself followed by my recommendations:
Should they all turn on together with one switch, or would it be beneficial to be able to control some of them separately? In larger rooms that use six or more lights, it may be practical to separate the lights into more than one zone. For example, in a master bedroom, you could have the lights above the bed on a separate switch for reading in bed without having to light the entire room.
Do you want a dimmer switch so that you can control the brightness? I recommend dimmers everywhere. It is a relatively inexpensive way to have total control over the lighting in a room.
Where will the controls be located? In most cases, the controls should be located where you enter and leave the room. If the room has more than one point of entry, install controls at each location whenever feasible. You don’t want to have to walk across a dark room to turn on the lights – it kind of defeats the purpose of the lighting.