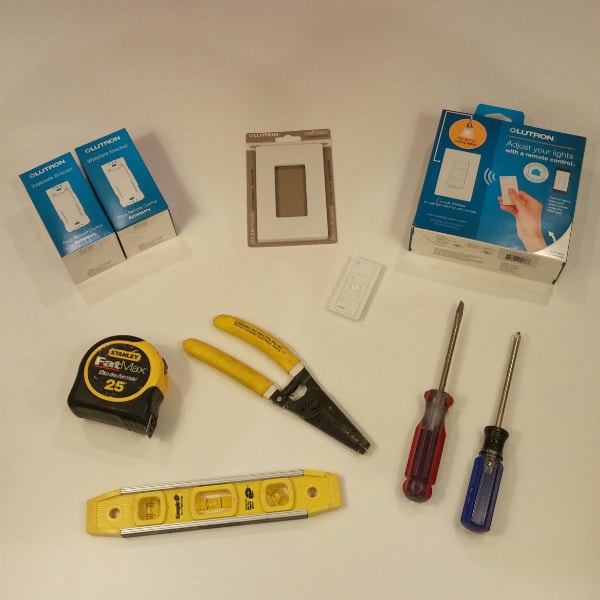
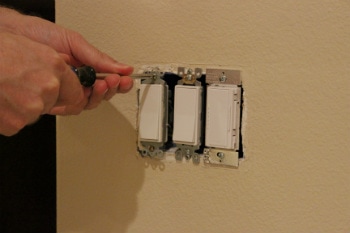
Step 1. Replace the existing switch with the Caseta dimmer.
Turn off the power. Remove the existing switch or dimmer and install the Caseta dimmer switch in its place. There are wiring instructions included with the Caseta dimmer if needed.

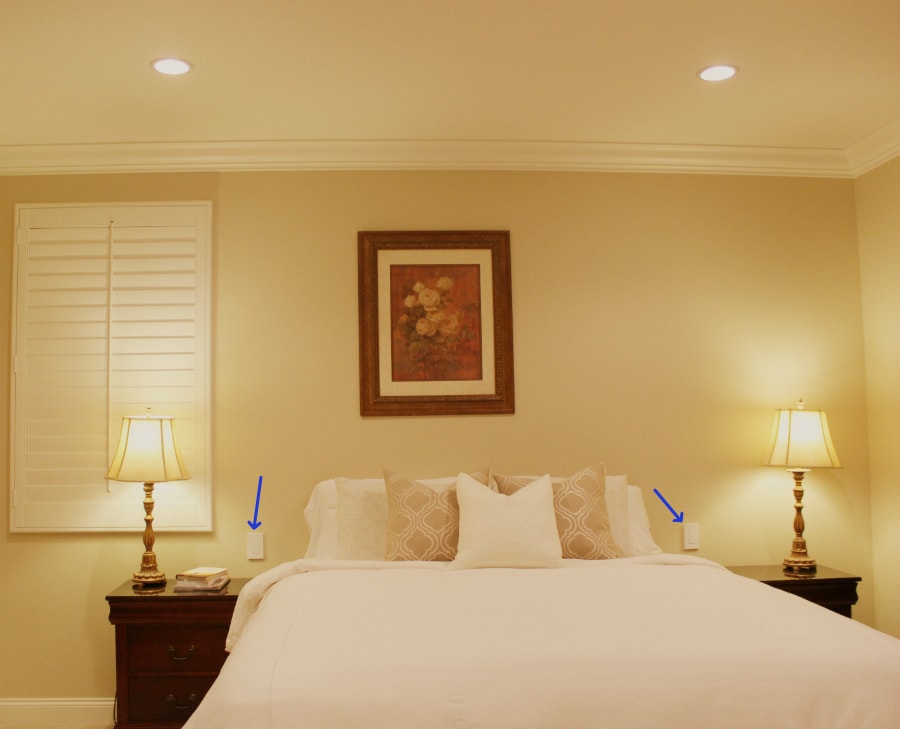
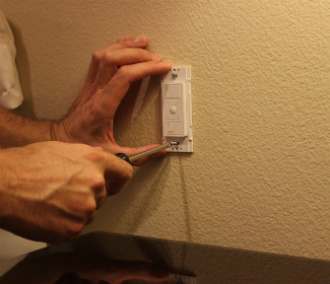
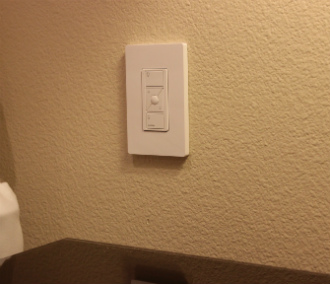
Step 2. Mount the wireless dimmers on either side of the bed.
Measure and mark the wall where you’d like the controls to go on both sides of the bed. Example; 8-inches out from the headboard and 6-inches up from the nightstand on center.
Insert the dimmers into the wall mount brackets and attach them to the wall using the anchors and screws included with the brackets (use your level). Then install the cover plates.
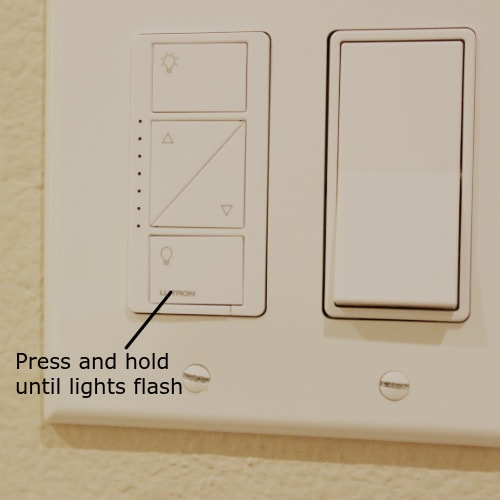
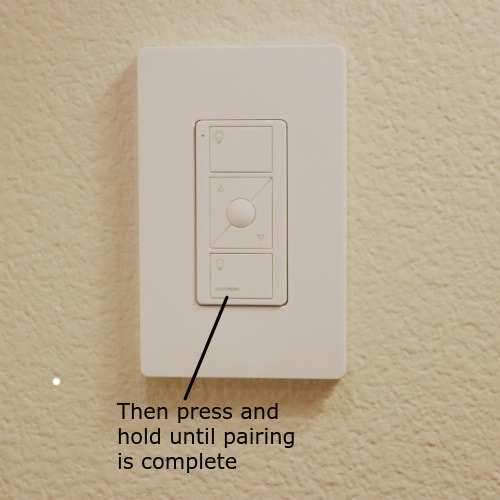
Step 3. Pair the wireless dimmers with the wired dimmer.
Turn on the power. Press and hold the off button of the wired dimmer switch until the led lights begin flashing. Then go to one of the wireless dimmers and press and hold the off button until the recessed lights flash indicating that the pairing is complete. Repeat the same process from the beginning for the wireless dimmer on the other side of the bed.
That’s it! Now you can control the recessed lights from the original location at the door and from your bedside.
Hint: You’ll notice that the wireless dimmers have a very convenient “favorite” button in the center. I like to dim the lights as low as they will go, and then set this as the favorite setting by pressing and holding the button for a few seconds. It works great when you only need a little light to find your way in the middle of the night.